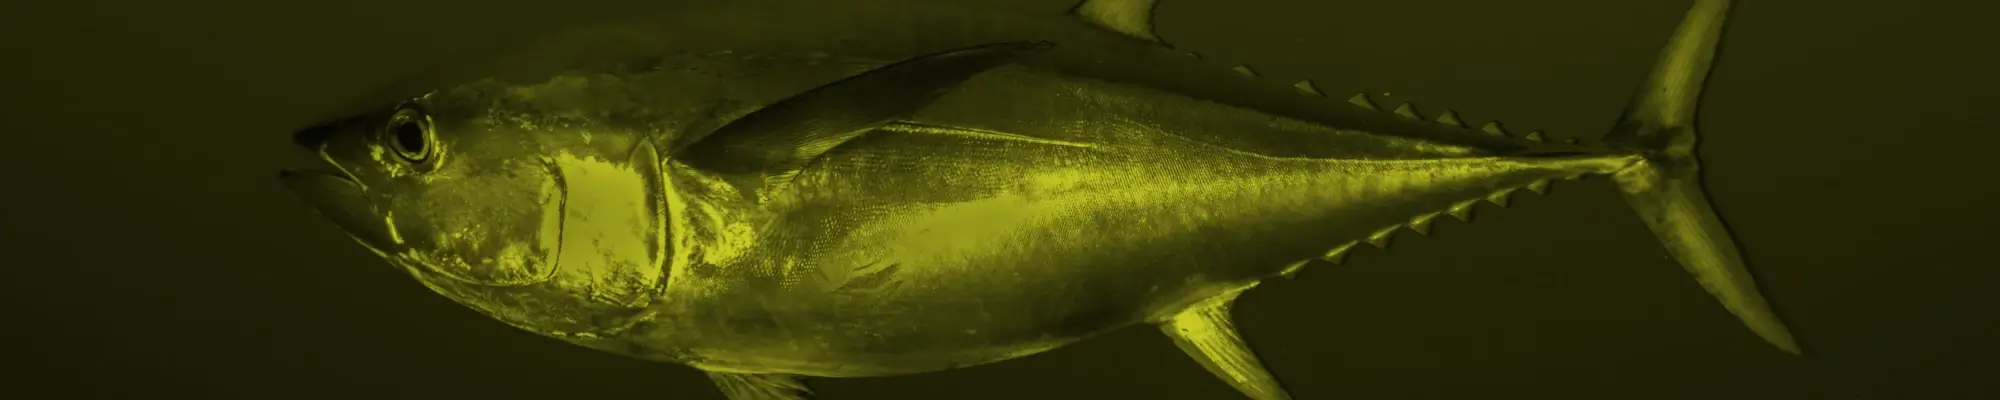
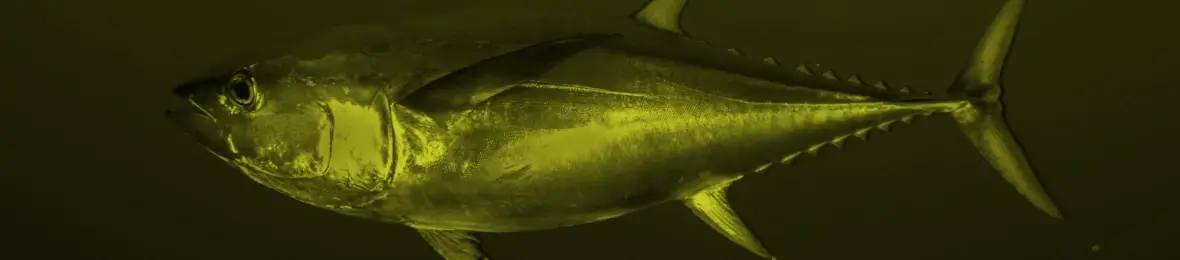
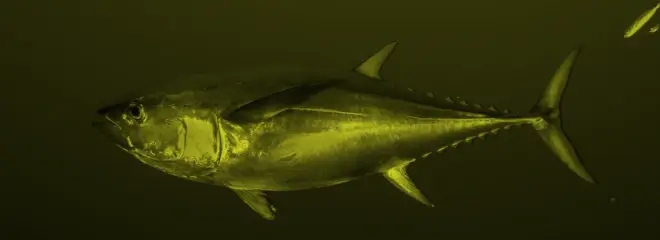
Jigging for Yellowfin Tuna
While yellowfin tuna can often be found close to the surface early in the morning and late in the afternoon, they can often be found around or below the thermocline for the rest of the daylight hours. While a planer or downrigger can add a depth dimension to your trolling spread, that still may not be enough to get in on the bite. When yellowfin tuna are holding deep in the water column and trolled or chunked baits are not able to get down into the strike zone easily, dropping down a jig can be an effective way to put together an impressive catch while your dockmates troll around all day and come home with the dreaded skunk.
Both spinning and conventional gear will be suitable for jigging, based mostly on preference. A suitable spinning setup would include a Shimano Saragosa 10000 or Daiwa Saltist 5000 reel matched up with a Black Hole 250g Cape Cod Special rod or OTI 300S Fathom Blade. If you prefer to go with a conventional setup, a Maxel Ocean Max 8-10, Shimano Talica 12-16, or Accurate BV-600N matched with a Black Hole 250g or OTI 300C Fathom Blade Jigging Rod would do the trick. An ideal line for either reel would be 50-65lb braided line, which will increase line capacity due to its thin diameter while allowing you to go with a smaller and overall lighter reel.
Quite often anglers go with setups that are too heavy while jigging, however it is best to use a jigging rod that is designed for the weight of the jig you are using. Using a 400g rated jigging rod to effectively dance a 200g jig will not do as good a job of enticing a yellowfin into piling on the jig like it was intended, dampening most of the action. Unless you are in an area known for taking cows over 200lb or bigeyes may also be in the area, it is best to stick with a lighter setup rated for jigs around 200-300g that will still be able to spank a 70lb yellowfin with ease.
Knowing the depth that the tunas are holding at is crucial for maximizing your potential chances to hookup on the jig. This means that you will need to rely on your electronics, especially your sounder to give you an accurate reading on how deep the bait and fish are holding. After you have used your electronics to find the correct depth to start out, using a metered braid like Power Pro Depth Hunter, Daiwa J Braid and Saltiga Braid, or Momoi Verifier. These lines change color for a given length of line, so you can get your jig right below the strike zone and work up towards the surface.
While your leader usually does not have to be as stealthy as when chunking, the connection to your braid is extremely important. If you use hollow core braid you can eliminate knots completely with the use of a splice, however the increased diameter of hollow core over solid braid will increase the amount of scope in your line. Knots like a Bimini to a Yucatán knot, or PR Knot will work, a wind-on leader is usually preferred. This can be simply achieved by simply tying a Bimini on the end of your mainline braid, allowing for a simple catspaw loop to loop connection. Not only is this connection extremely easy, it also allows for quick change outs on the water when the bite is hot.
After you have your setup complete, you can now worry about the jigs you plan on using and how to connect them. In order to quickly change out between jigs in your jig bag, it is best to connect a solid ring with an assist hook or two and a split ring directly to your main line. With a good pair of split ring pliers, you will be able to effortlessly remove and a new jig in seconds instead of having each jig in your bag fully rigged with all of the terminal tackle. This will also make stowing your jigging rod in between spots much easier and safer, since you can fully remove the jig in seconds and prevent it from swinging around the cockpit.